Vu Meter
I wanted a large on-screen volume indicator showing:
The microphone amplification level, changing as you adjust it (by pressing keys, for example).
Whether the microphone is muted.
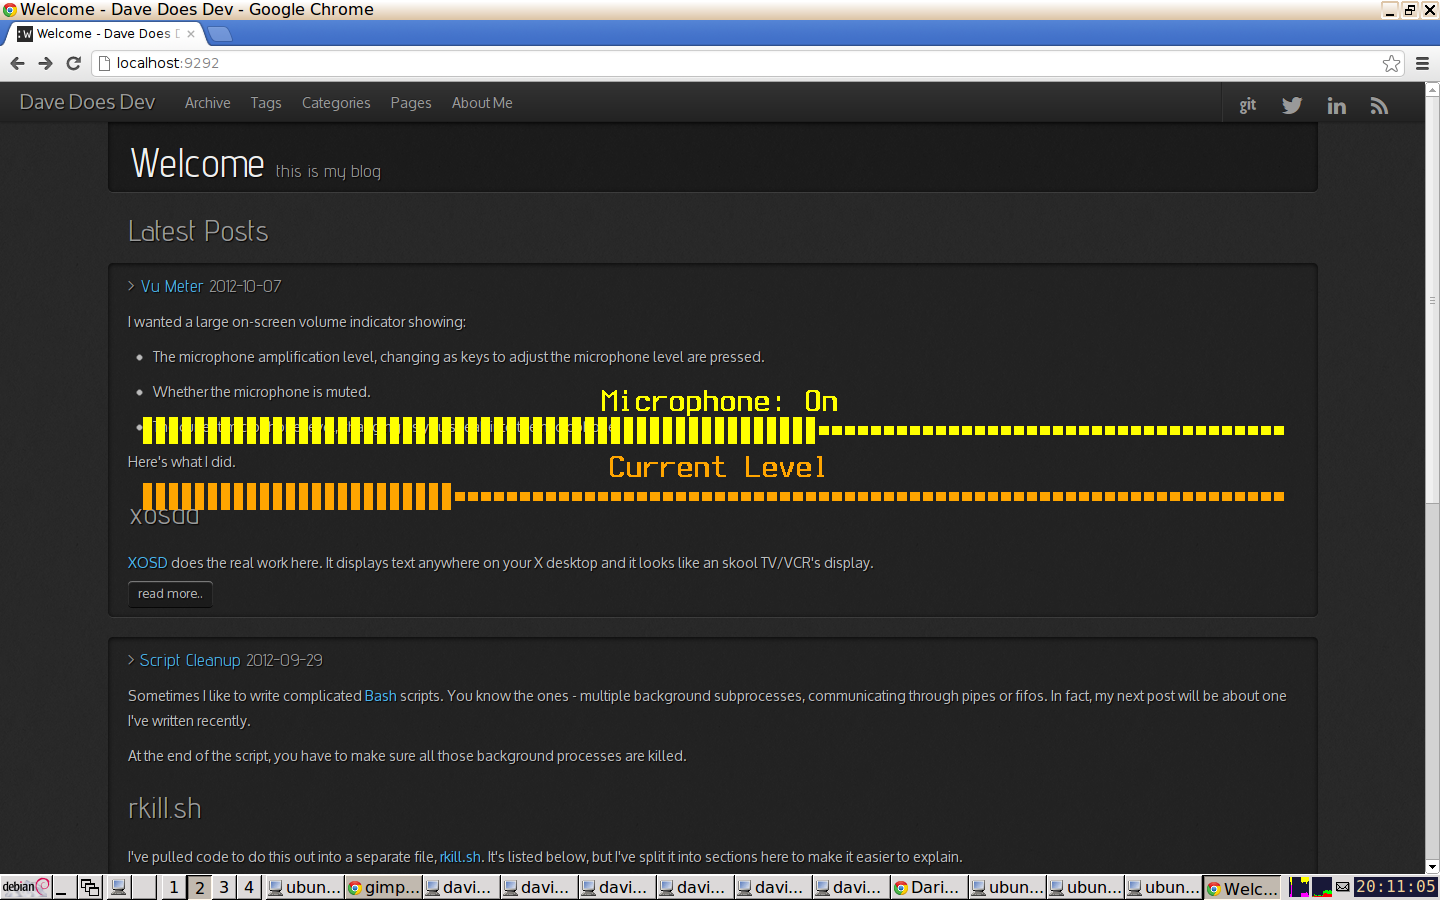
The current microphone level, changing as you speak into the microphone.
Here's what I did.
xosdd
XOSD does the real work here. It displays text anywhere on your X desktop and it looks like an old skool TV/VCR's display.
XOSD is a library to build into your own projects. xosdd puts XOSD into a daemon which listens on a named pipe for commands using a custom protocol.
I made a 2-line patch to xosdd in order to support display of text in the centre of the screen.
First, I created some named pipes:
for p in /tmp/{audio,display,vumeter,level}_control
do
  if ! test -p "$p"
  then
    mkfifo "$p"
  fi
done
display_control and vumeter_control are for communicating with xosdd:
- /tmp/display_control
- For commands to display the microphone amplification level and muted state.
- /tmp/vumeter_control
- For commands to display the current microphone level.
audio_control and level_control are for receving user input and capturing raw microphone level data. They won't be used with xosdd directly but by processes which sit in front of xosdd.
- /tmp/audio_control
- For user actions: microphone volume up/down, mute/unmute and turn current level monitoring on/off. These will be sent when the user presses corresponding keys on the keyboard.
- /tmp/level_control
- For raw microphone level data.
I ran xosdd twice - once for displaying the amplification level and muted state and once for displaying the current level:
xosdd -l 4 -t 2 -f '-*-terminus-bold-r-*-*-*-240-100-100-*-*-*-*' /tmp/display_control &

cat > /tmp/display_control <<EOF
align center
pos middle
EOF

xosdd -l 4 -f '-*-terminus-bold-r-*-*-*-240-100-100-*-*-*-*' /tmp/vumeter_control &

cat > /tmp/vumeter_control <<EOF
color orange
align center
pos middle
EOF
Both default to displaying information in the centre of the screen. I used the Terminus font here but you may wish to use something else. XOSD only supports bitmap fonts.
Displaying amplification level and muted state
Let's define a bash function which we can call at any time to get xosdd to display the microphone volume level and whether it's muted.
You'll need to set ctlIn to the name of your microphone under ALSA. Run amixer without arguments to list all your devices. On one of my systems it's called Mic, on another it's called Capture.
function display_input
{
  amixer get "$ctlIn" | egrep -o '([0-9]+%)|(\[off\])' |
  {
  local state=On color=yellow percent
  while read v
  do
    if test "$v" = "[off]"
    then
      state=Off
      color=red
    else
      percent="$v"
    fi
  done
  cat > /tmp/display_control <<EOF
color $color
string 0 "Microphone: $state"
bar 1 $percent
EOF
  }
}
What we're doing is calling amixer to get information about the device and filtering for amplification level and muted state. Note the egrep option -o outputs each match part on a separate line.
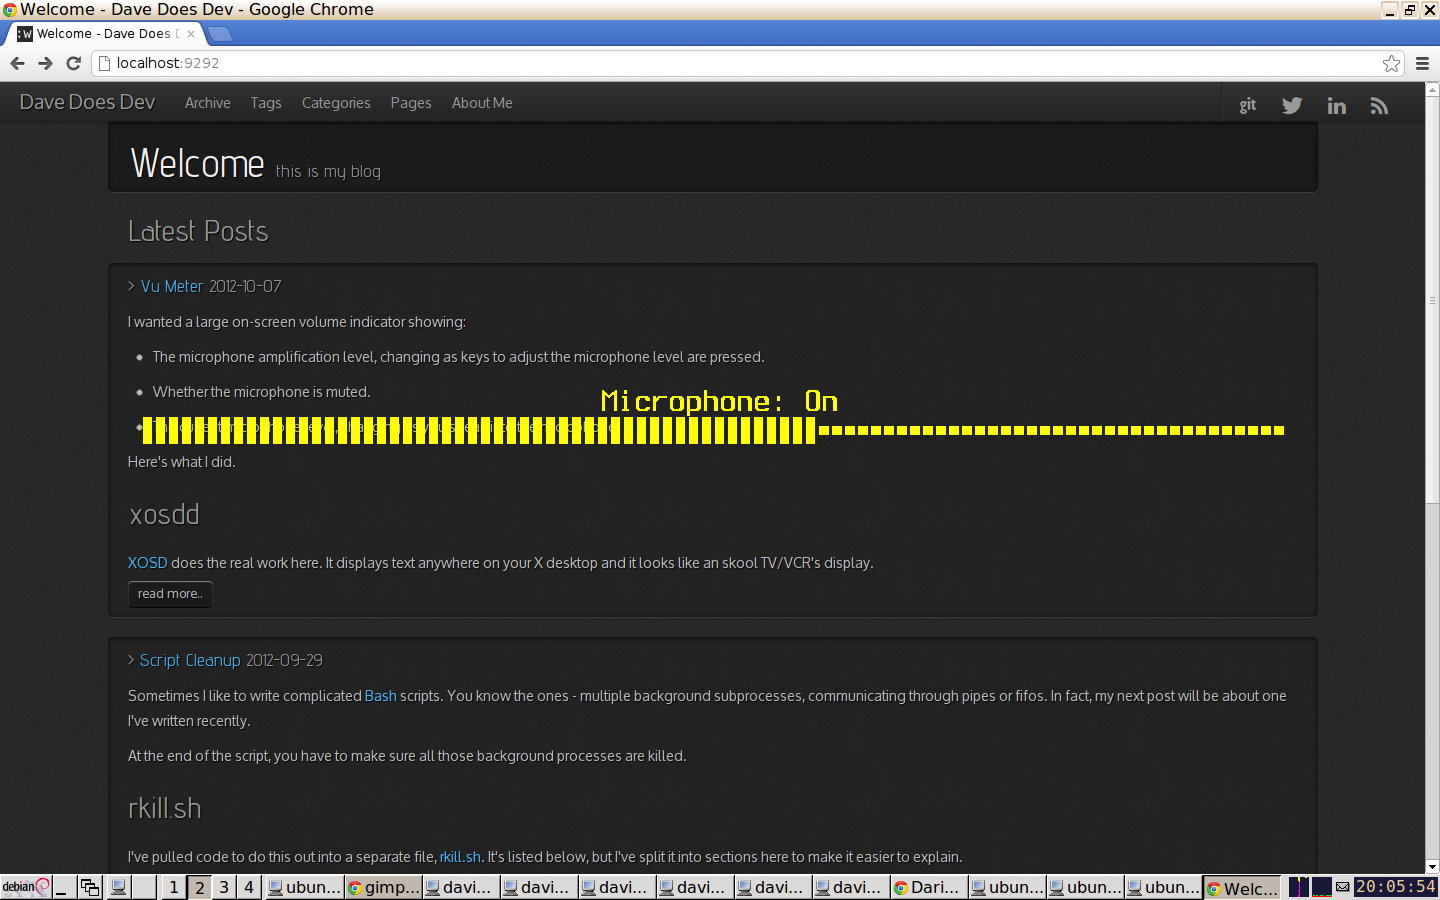
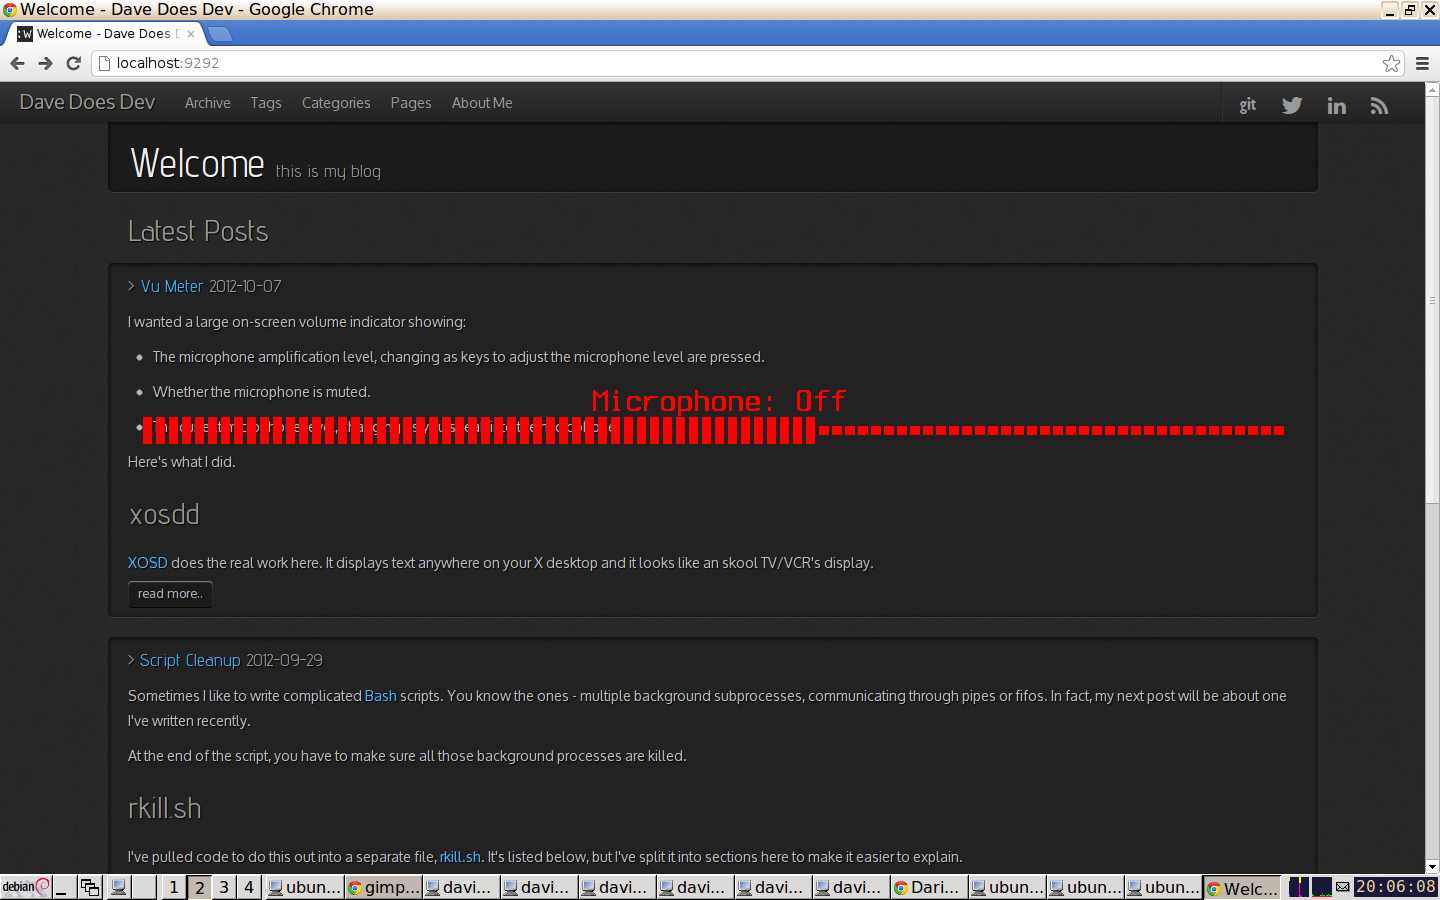
If the microphone is muted, the colour is set to red; unmuted is yellow. We display text for the muted state on the first line and a bar indicating the amplification level on the second.
Monitoring current microphone level
This is a bit more complicated but not too bad. Basically, we want to read raw microphone level data from /tmp/level_control and turn it into commands for xosdd on tmp/vumeter_control.
At the same time, we want to keep the amplification and muted state display updated so the user can press microphone up/down keys and see both the amplification and current levels change.
(
while true
do
  gawk '/^.+%$/ {print ""; fflush(); printf("string 2 \"Current Level\"\nbar 3 %s\n", $NF) >"/tmp/vumeter_control"; close("/tmp/vumeter_control")}' /tmp/level_control |
  (
  first=yes
  while read
  do
    if test $first = yes
    then
      echo 'timeout -1' > /tmp/display_control
      first=no
    fi
    display_input
  done
  echo hide > /tmp/vumeter_control
  echo -e 'hide\ntimeout 2' > /tmp/display_control
  )
done
) &
Node that we need to disable the timeout on the amplification and muted
display while monitoring is active.
When we stop receiving raw microphone level data, both displays are
hidden straight away.
Main control loop
Now we need to control the microphone displays. We want to:
Allow the user to increase and decrease the microphone amplification level and then display the level on the screen.
Mute and unmute the microphone and display the status on the screen.
Start and stop monitoring of the current microphone level, and its display.
Here's how we do this:
while true
do
  exec 3< /tmp/audio_control
  while read cmd <&3
  do
    case $cmd in
      d)
        amixer -q set "$ctlIn" ${ctlDelta}-
        display_input
        ;;

      u)
        amixer -q set "$ctlIn" ${ctlDelta}+
        display_input
        ;;

      t)
        amixer -q set "$ctlIn" toggle
        display_input
        ;;

      m)
        if test "$recpid"
        then
          kill $recpid
          unset recpid
        else
          arecord -vvv /dev/null -V mono > /tmp/level_control &
          recpid=$!
        fi
        ;;
    esac
  done
  exec 3<&-
done
) &
The arecord command supplies raw microphone level data.
You'll have to set ctlDelta to the amount you want the microphone level changed when d and u commands are received. This will either be a percentage (e.g. 5%) or a number (e.g. 1) depending on your audio device. You'll have to try both to see what works for you.
Keyboard control
As you'll have noticed, everything is controlled through sending single-letter commands through /tmp/audio_control. We could make the user echo data through this named pipe but that wouldn't be very convenient.
Better to send a command when the user presses a key on the keyboard. How you do this will depend on your environment.
The window manager I use is IceWM. It has a $HOME/.icewm/keys file where you can specify commands to run when a key is pressed.
Here's my $HOME/.icewm/keys file:
key "XF86AudioRaiseVolume" sh -c "test -p /tmp/audio_control && echo u > /tmp/audio_control"
key "XF86AudioLowerVolume" sh -c "test -p /tmp/audio_control && echo d > /tmp/audio_control"
key "XF86AudioMute" sh -c "test -p /tmp/audio_control && echo t > /tmp/audio_control"
key "F12" sh -c "test -p /tmp/audio_control && echo m > /tmp/audio_control"
The volume up (XF86AudioRaiseVolume) and down (XF86AudioLowerVolume) keys on the keyboard send the u and d commands through /tmp/audio_control - resulting in the microphone volume being increased or decreased and the level displayed on the screen.
The mute key (XF86AudioMute) key sends the t command through /tmp/audio_control, resulting in the microphone being muted or unmuted and the status displayed on the screen.
The F12 key sends the m command through /tmp/audio_control. This starts displaying the current microphone level on the screen, changing in real time as you speak into it. Press F12 again to stop monitoring the microphone level.
Putting it all together
The complete script is here. Remember you need to set ctlIn and ctlDelta for your device at the top. The script calls rkill.sh from my previous post to clean things up at the end - press ^C or Enter to exit.
Finally, here are some screenshots of my Vu Meter in action:
blog comments powered by Disqus


